A watermark labels your slides as "Draft," "Confidential," or branded with your logo — without distracting from the content. PowerPoint doesn't have a one-click watermark button, but creating one is straightforward once you know the workaround. This guide shows you exactly how to add a watermark in PowerPoint — text watermarks (like "Draft"), image watermarks (like a logo), and how to apply them to every slide at once using the Slide Master.

- PowerPoint has no built-in "Insert Watermark" button — but you can create one using a text box or image, make it semi-transparent, and send it to the back.
- To apply it to every slide at once, add the watermark on the Slide Master (View → Slide Master).
- Below: step-by-step instructions for text watermarks, image watermarks, and the "Draft" watermark specifically.
3 Types of PowerPoint Watermarks
| Watermark type | What it looks like | Common use |
|---|---|---|
| Text watermark | Large semi-transparent text (e.g., "DRAFT," "CONFIDENTIAL") across the slide. | Marking status, restricting distribution. |
| Image watermark | A faded logo or graphic behind the content. | Branding, ownership, copyright. |
| Background watermark | An image set as the slide background at low opacity. | Subtle branding on every slide. |
How to Add a Text Watermark in PowerPoint (e.g., "Draft")
This is the most common method — perfect for a draft watermark in PowerPoint:
- Open your presentation in PowerPoint.
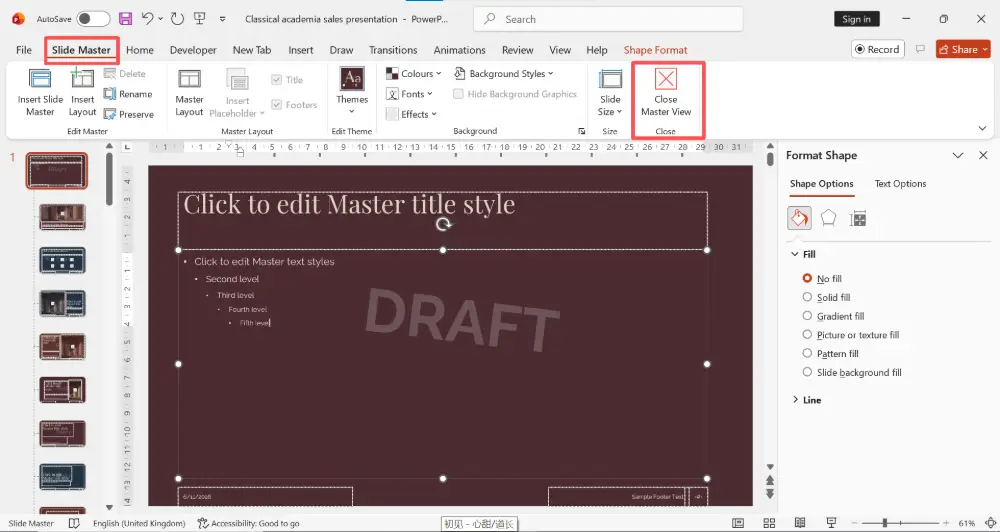
- Go to View → Slide Master. This ensures the watermark appears on every slide.

- Click on the top (largest) master slide in the left panel.
- Go to Insert → Text Box. Draw a large text box across the center of the slide.
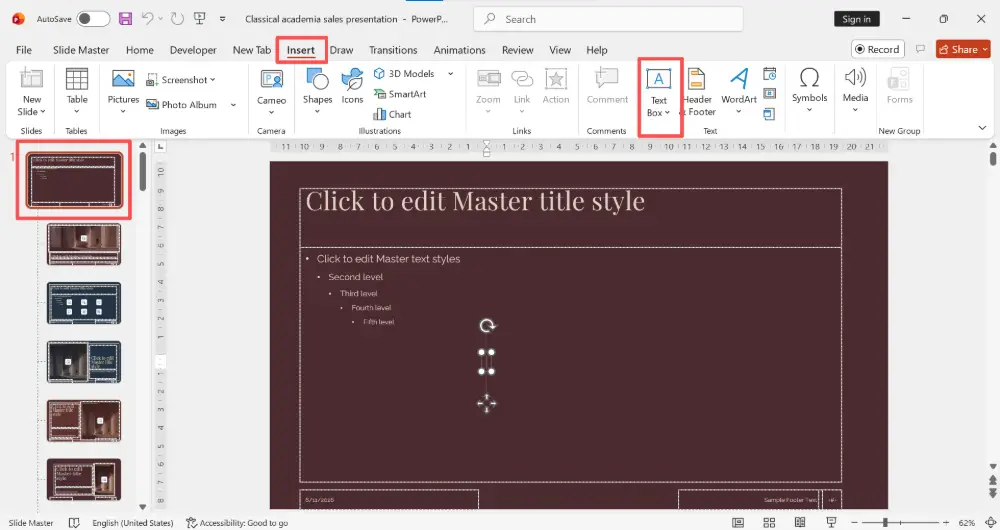
- Type your watermark text (e.g., DRAFT, CONFIDENTIAL, DO NOT DISTRIBUTE).
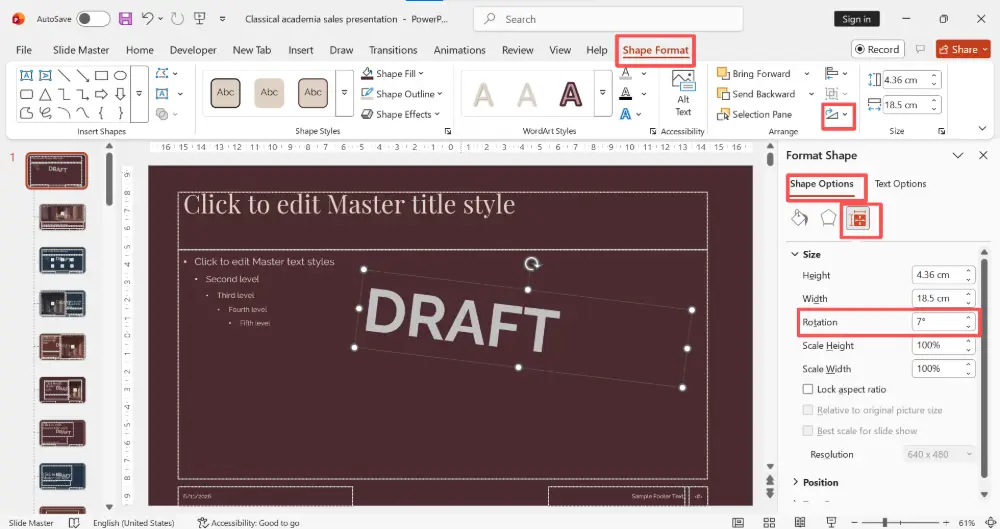
- Format the text: set a large font size (e.g., 72–120 pt), choose a light gray color (like #C0C0C0), and optionally rotate it diagonally (select the text box → drag the rotation handle, or use Format → Rotate → set a custom angle like 45°).
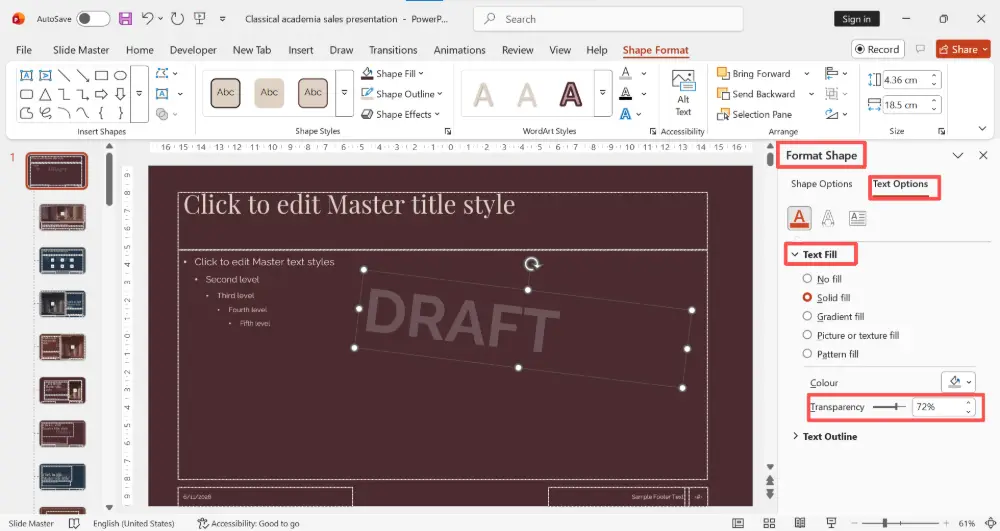
- Make it semi-transparent: select the text box → right-click → Format Shape → Text Options → Text Fill → set transparency to 70–85%.
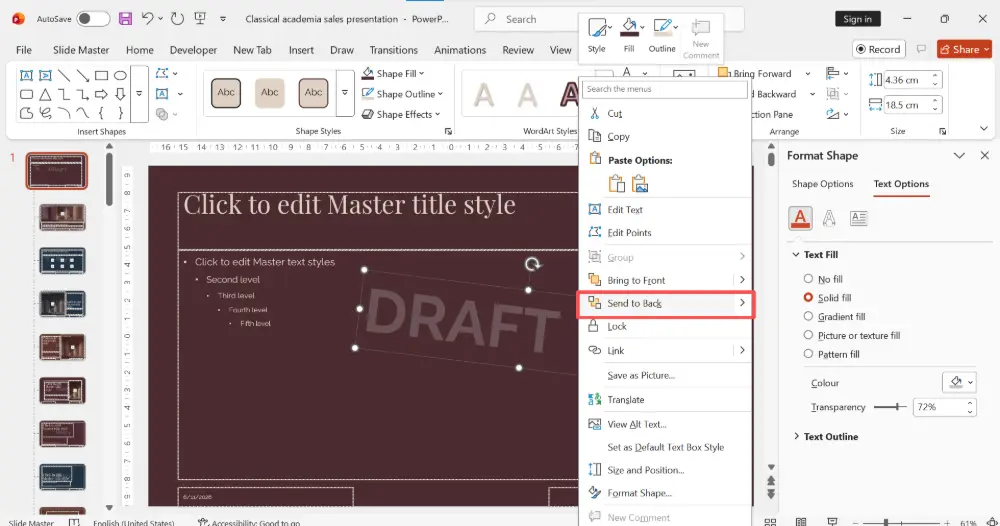
- Send it behind the content: right-click the text box → Order → Send to Back.
- Close the Slide Master: Slide Master tab → Close Master View.
The watermark now appears on every slide that uses this master layout.

Adding the watermark on the Slide Master (step 2) is the key. If you add it directly on a regular slide, you'd need to copy it to every slide manually. The Slide Master applies it everywhere at once — and when you're ready to remove it, you delete it in one place.
How to Add an Image Watermark in PowerPoint (Logo)
- Go to View → Slide Master → click the top master slide.
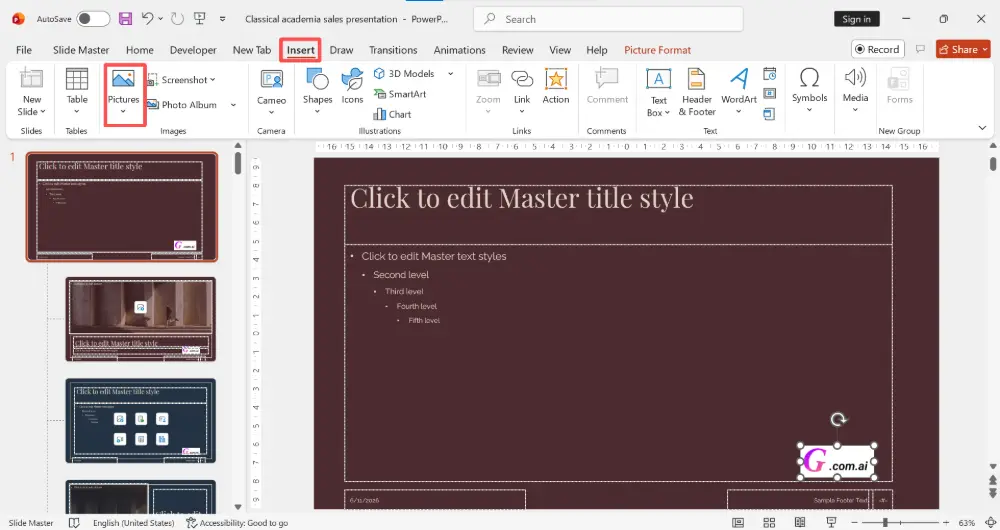
- Go to Insert → Pictures → choose your logo or image.
- Resize and position it where you want (center, corner, or across the slide).
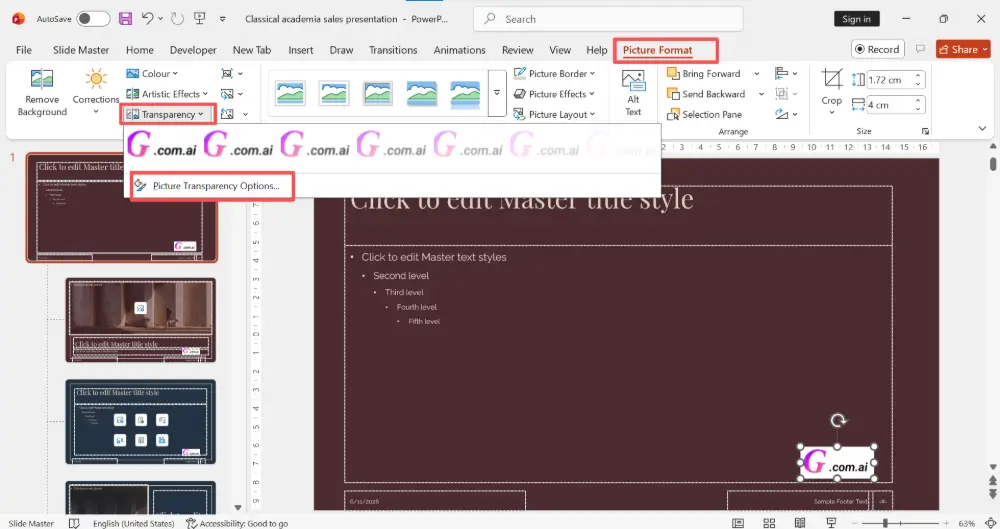
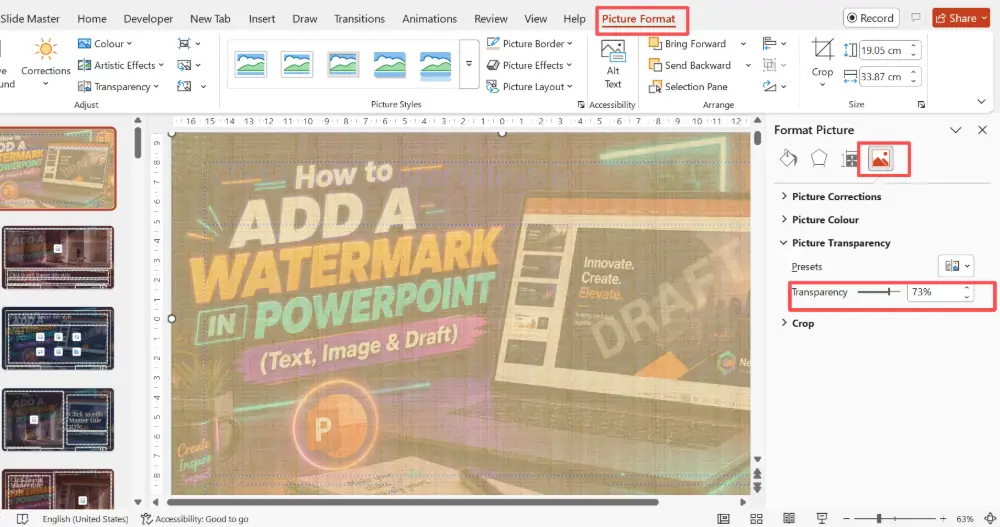
- Make it semi-transparent: select the image → Picture Format tab → Transparency → choose a preset (e.g., 75%) or click Picture Transparency Options for a custom value.
- Send it behind the content: right-click → Order → Send to Back.
- Close the Slide Master.

If the "Transparency" option isn't available in your version of PowerPoint, use this alternative: right-click the image → Format Picture → Picture → Picture Transparency slider.
How to Add a Watermark as a Background Image
For an even subtler effect, set the watermark as the slide background:
- Go to View → Slide Master → click the top master slide.
- Right-click the slide → Format Background.
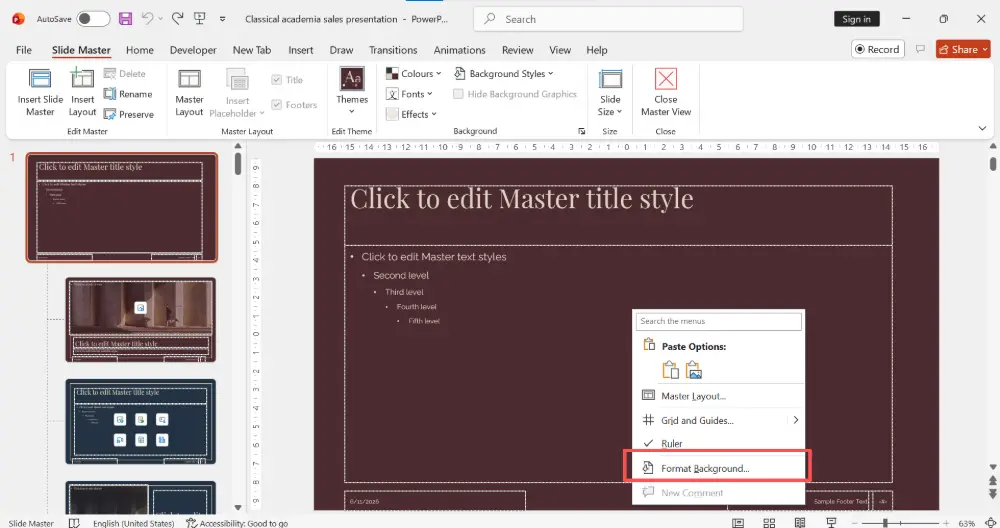
- Choose Picture or texture fill.
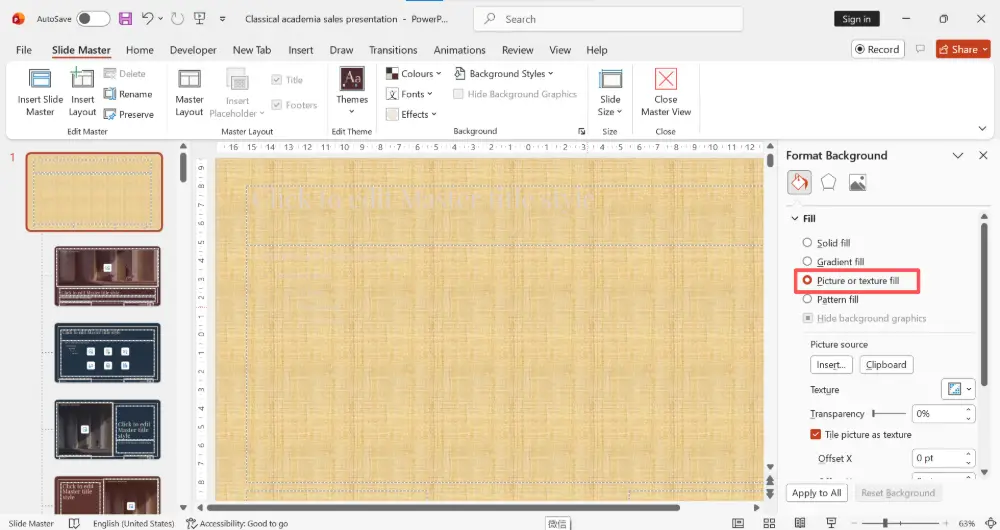
- Click Insert → choose your image file.
- Set the Transparency slider to 70–90% so the image fades into the background.
- Click Apply to All to apply to every slide.

- Close the Slide Master.
How to Remove a Watermark
- Go to View → Slide Master.
- Click the top master slide.
- Select the watermark text box or image and press Delete.
- Close the Slide Master. The watermark disappears from all slides.
If the watermark was set as a background image, right-click the master slide → Format Background → change the fill back to Solid fill.
Quick Reference: Watermark Settings
| Setting | Recommended value | Why |
|---|---|---|
| Font size (text) | 72–120 pt | Large enough to be visible but not dominant. |
| Font color | Light gray (#C0C0C0 or #D3D3D3) | Visible but doesn't compete with content. |
| Transparency | 70–85% | Faded enough to stay in the background. |
| Rotation | 45° diagonal (optional) | Classic watermark look; harder to crop out. |
| Layer position | Send to Back | Keeps the watermark behind all content. |
💡 Pro tip: If you want watermarks handled automatically — or if you'd rather skip the manual formatting entirely — AI presentation tools like Gamma.com.ai let you apply consistent branding and status labels across your entire deck without touching the Slide Master.
Conclusion
Adding a watermark in PowerPoint takes a few steps since there's no built-in button, but the process is simple: insert a text box or image, make it semi-transparent, send it to the back, and do it all on the Slide Master so it applies everywhere. For a draft watermark, use large gray diagonal text at 70–85% transparency. For a logo watermark, insert the image and fade it. And when the draft is final, delete the watermark from the Slide Master in one step.
FAQs
How do I add a watermark in PowerPoint?
Go to View → Slide Master, click the top master slide, insert a text box or image, make it semi-transparent (70–85%), send it to the back, and close the Slide Master. The watermark appears on every slide automatically.
How do I add a "Draft" watermark in PowerPoint?
On the Slide Master, insert a text box, type "DRAFT" in large gray font (72–120 pt), rotate it 45°, set the text transparency to 70–85%, and send it to the back. Every slide will show the faded "Draft" label behind the content.
How do I make a watermark semi-transparent?
For text: right-click the text box → Format Shape → Text Options → Text Fill → set Transparency to 70–85%. For images: select the image → Picture Format → Transparency → choose a preset or set a custom value.
How do I remove a watermark from PowerPoint?
Go to View → Slide Master, click the top master slide, select the watermark element, and press Delete. Close the Slide Master and the watermark disappears from all slides. For background watermarks, change the background fill back to Solid fill.
Does PowerPoint have a built-in watermark feature?
No — unlike Word, PowerPoint doesn't have a one-click "Insert Watermark" button. But creating one manually is straightforward: insert a text box or image on the Slide Master, make it transparent, and send it to the back. The result is the same.